Bake Perfect Laffa Bread: Easy Homemade Recipe Tips
There's a special kind of magic in baking bread at home, and when that bread is Laffa, it's an experience that transcends the ordinary. For many, the first encounter with Laffa bread is nothing short of "bread-love at first bite"—a delightful revelation of chewy, elastic texture and rich flavor that often surpasses even beloved naan or pita. If you've ever wondered how to bring that Middle Eastern magic into your kitchen, you're in the right place. This comprehensive guide will walk you through an easy homemade Laffa bread recipe, ensuring delicious results every time.
Discovering the Irresistible Charm of Laffa Bread
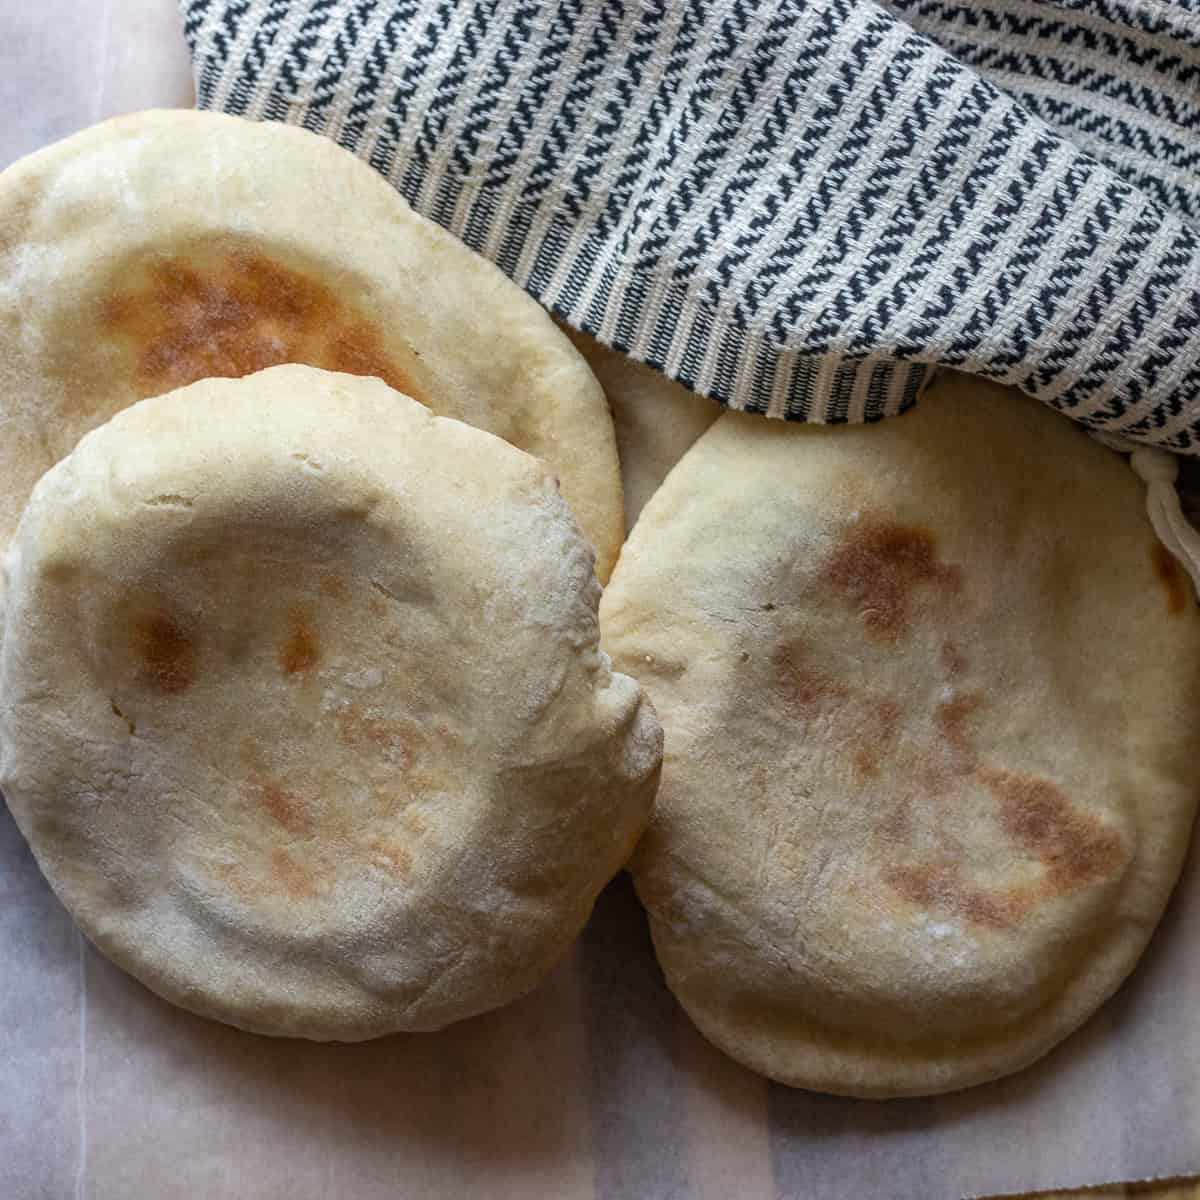
Laffa bread, a staple in Middle Eastern cuisine, particularly cherished in Israeli and Iraqi kitchens, is more than just a flatbread; it's an invitation to a world of culinary versatility. Unlike its thinner cousin, pita, Laffa is known for being thicker and significantly chewier, offering a satisfying mouthfeel that makes it perfect for scooping, wrapping, or simply savoring on its own. Its distinctive character comes from simple ingredients transformed by high heat, creating those coveted scorched marks that signify authenticity and incredible flavor.
What makes Laffa so special? Its elasticity and chewiness provide an ideal vehicle for everything from creamy hummus to sizzling kebabs and shawarma. Imagine wrapping tender grilled meats and fresh salads in a warm, pliable piece of Laffa – it’s an absolute game-changer for homemade sandwiches and wraps. But its appeal isn't limited to savory dishes; leftover pieces have been known to be devoured instantly with a simple spread of peanut butter, showcasing its remarkable adaptability.
Essential Ingredients for Your Homemade Laffa Bread Recipe
One of the most amazing aspects of baking various breads, crackers, and tortillas is that they often stem from the same foundational ingredients. Laffa bread is no exception, relying on a handful of pantry staples to create something truly extraordinary. For your homemade Laffa bread recipe, you’ll need:
- All-purpose flour: The backbone of your bread, providing structure.
- Active dry yeast: The leavening agent responsible for that airy, chewy texture.
- Granulated sugar: Feeds the yeast, encouraging its activity and contributing to browning.
- Salt: Enhances flavor and regulates yeast activity.
- Warm water: Activates the yeast and brings the dough together.
- Olive oil: Adds richness, moisture, and helps with dough elasticity.
With these basic components, you’re well on your way to mastering how to make Laffa bread at home.
The Dough: Mixing and Kneading
The journey to perfect Laffa begins with the dough. While you can certainly knead the dough by hand, which is a wonderfully tactile experience, a stand mixer equipped with a dough hook makes the process incredibly easy and efficient.
Stand Mixer Method: Combine all your dry ingredients in the mixer bowl, then slowly add the warm water and olive oil. Using the dough hook, mix on low speed until a shaggy dough forms, then increase the speed to medium and knead for about 7-10 minutes. The dough should be smooth, elastic, and pull away from the sides of the bowl.
Hand Kneading Method: In a large bowl, whisk together the dry ingredients. Make a well in the center and pour in the warm water and olive oil. Mix with a spoon or your hands until a shaggy dough forms. Turn the dough out onto a lightly floured surface and knead for 10-15 minutes, or until the dough is smooth, elastic, and springs back when lightly poked.
A crucial tip here: Avoid overmixing the dough, especially if using a stand mixer. Overmixing can lead to a tough texture. The dough should come together and feel pliable, not overly sticky or excessively stiff.
The Rise: Patience is a Virtue
Proper rising time is paramount for achieving the desired soft and chewy texture in your Laffa bread. This recipe typically involves two distinct rising periods:
- First Rise (Bulk Fermentation): After kneading, place the dough in a lightly oiled bowl, turning once to coat. Cover the bowl with plastic wrap or a clean kitchen towel and let it rise in a warm place for about 1 hour, or until it has doubled in size. This allows the gluten to relax and develop, creating a light, airy internal structure.
- Second Rest (Individual Balls): Once the dough has completed its first rise, gently punch it down to release the air. Divide the dough into approximately 12 equal portions. Roll each portion into a tight ball and let them rest, covered, for another 10 minutes. This short rest is vital as it allows the gluten to relax again, making the dough much easier to roll out without resistance.
This recipe makes about 12 servings, which is generous for a family meal or gathering. If you find yourself with too much dough, you can easily divide it in half after the first rise and freeze the extra in a heavy-duty freezer bag. When you're ready to use it, simply thaw the dough completely in the refrigerator overnight, then bring it to room temperature before separating it into individual balls for the second rest.
Cooking Laffa: Achieve Those Perfect Scorch Marks
The distinctive look and taste of Laffa bread truly come alive during the cooking process. While some prefer grilling, the stovetop method is incredibly accessible for home cooks and yields fantastic results.
Stovetop Preparation: Rolling and Heating
Once your individual dough balls have rested, it's time to roll them out. Don't worry too much about achieving a perfect circular shape; how it looks truly doesn't matter. The goal is a relatively even and flat surface, about 8-10 inches in diameter. Use a lightly floured surface and a rolling pin, turning the dough as you go to prevent sticking.
For cooking, the key is a very hot pan. A heavy-bottomed cast iron skillet or a non-stick pan will work best. Preheat your pan over medium-high to high heat until it's smoking slightly. This intense heat is crucial for developing those characteristic scorch marks and ensuring the bread cooks quickly without drying out. If you're looking for more detailed guidance on stovetop cooking, be sure to check out our article:
Unlock Soft, Chewy Laffa Bread: Your Ultimate Stovetop Guide.
The Cooking Process
Once your pan is searing hot, carefully place one rolled-out piece of Laffa dough onto it. You'll immediately notice bubbles forming on the surface. Cook for about 1-2 minutes per side, or until the bread is beautifully puffed, golden brown, and boasts those enticing dark scorch marks. The quick cooking time is essential for maintaining the bread's soft, chewy interior while developing a slightly crisp exterior. As each piece finishes cooking, remove it from the pan and stack it on a plate, perhaps covered with a clean towel, to keep it warm and soft.
Serving Your Freshly Baked Laffa & Storage Tips
The moment your homemade Laffa bread comes off the hot pan, it’s ready to be devoured. The versatility of Laffa makes it a perfect accompaniment to almost any meal.
Versatile Pairings
*
Classic Middle Eastern: Serve warm with generous dollops of hummus, baba ghanoush, or labneh.
*
Wraps and Sandwiches: Use it as a wrapper for homemade kebabs, shawarma, falafel, or any of your favorite sandwich fillings.
*
Flatbread Style: Pile on toppings like roasted vegetables, grilled chicken, or fresh herbs for a quick and satisfying flatbread meal.
*
Simple Snacking: Enjoy it plain, tear it into pieces, or slather it with butter or, as some adventurous eaters recommend, peanut butter!
Storage and Reheating
Freshly baked Laffa is best enjoyed immediately. However, if you have leftovers, store them in an airtight container or a heavy-duty freezer bag at room temperature for up to 2-3 days, or in the refrigerator for up to a week. For longer storage, Laffa bread freezes beautifully for up to 3 months. To reheat, simply warm it briefly in a dry skillet, microwave, or oven until soft and pliable again.
Troubleshooting: Avoiding Common Laffa Mistakes
While learning how to make Laffa bread at home is relatively simple, there are a few common pitfalls that can lead to a less-than-perfect result, particularly hard or tough bread.
*
Overmixing the Dough: As mentioned, excessive kneading can overdevelop the gluten, resulting in a dense, tough texture. Knead just until the dough is smooth and elastic.
*
Too Much Flour: Adding too much flour during mixing or rolling can make the dough dry and stiff, leading to a hard bread. Use flour sparingly when rolling, just enough to prevent sticking.
*
Overbaking: Cooking the Laffa for too long on the pan will dry it out and make it hard. Keep a close eye on the cooking time, aiming for quick cooking on high heat.
*
Inadequate Resting or Rising Time: Rushing the dough's relaxation periods (both the first rise and the individual ball rest) won't allow the gluten to properly relax, contributing to a dense texture. Be patient with the rise times.
By being mindful of these factors and adjusting your technique, you can prevent your Laffa from becoming overly hard and achieve that coveted soft, chewy consistency every time. For a deeper dive into common errors and how to fix them, check out our dedicated guide:
Stop Hard Laffa: Fix Common Mistakes for Fluffy Flatbread.
Baking your own Laffa bread at home is an incredibly rewarding experience. With simple ingredients and a straightforward process, you can recreate this delicious Middle Eastern staple in your own kitchen. Whether you're serving it with a feast of mezze or simply enjoying it as a quick snack, the soft, chewy texture and rich flavor of homemade Laffa are sure to impress. So roll up your sleeves, embrace the joy of baking, and get ready to enjoy perfect Laffa bread from your very own oven or stovetop!